
Charting at Nourish
Estimated read time: Approximately 30 minutes
Overview
At Nourish, your Chart note is both a documentation tool and a clinical guide for your sessions.
The Nourish chart note is designed to support you before, during, and after each patient session. The Nourish chart note acts as your in-session guide, supporting your clinical workflow, assisting with real-time decision-making, and reducing your post-visit charting workload to keep each appointment focused, personalized, and efficient.
All charting occurs within your Nourish Provider Portal and must be completed within 48 hours of your appointment. Timely chart completion is a performance metric you will be evaluated on.
To support efficiency, Nourish offers built-in AI tools like the Nourish Scribe that help to support your sessions and efficient charting.
This guide will walk you through how to use the chart note effectively — from session flow and clinical guidance to AI tools and documentation best practices. Please review carefully so you feel prepared for your first session.
Want to learn more about each section of the chart note? This optional Chart Note Structure training breaks it all down!
Why we use this Chart Note
Our chart note is built around Nourish’s Care Pathway framework — a flexible clinical model developed in collaboration with CQMs, clinical advisors, and experienced Nourish RDs to define what high-quality care looks like across conditions and patient journeys.
This framework supports three key goals:
1. Deliver consistent, high-quality patient care
To ensure every patient at Nourish receives exceptional, consistent care. We want every patient to feel supported, empowered, and understood.
2. Support your clinical growth and confidence
To support RDs in continuing to grow and refine their skills. In a virtual environment, it’s not always easy to observe other clinicians or get in-the-moment feedback. The new chart note and session flow are built to act as a thought partner - surfacing ideas, examples, and structure to support your growth while leaving room for clinical autonomy and creativity.
3. Reduce documentation burden and streamline your workflow
To reduce the documentation burden and make your workflow easier. We use an AI-powered ‘Assist’ tool, and align the flow of the note with the natural rhythm of a patient session.
This framework isn't about standardizing your voice or clinical style; it is about giving you the structure and tools to deliver excellent care, so that no matter how long you’ve been practicing, you feel supported and can keep improving over time.
Think of the chart note as your clinical thought partner, offering structure and support while preserving your clinical autonomy and personal style.
Creating & Accessing Chart Notes
All charting is done in the Nourish Provider Portal. Since your Chart Note supports you before, during, and after sessions, we recommend opening it a few minutes early (or anytime before your session) to review the patient's pre-appointment summary.
To create and access chart notes:
Navigate to the Home page, where appointments are sorted by date.
Hover over the chart note icon on the far right of the appointment line:
Hover over the chart note icon on the far right of the appointment line item and click "Create chart note" to begin a new one
If already started, the icon will say "Open chart note"
Once signed and locked, a locked icon will prevent further editing
You can also access your chart note's directly from a patient's appointment on your Calendar or from a patient's profile under 'Appointments'

How the Chart Note Supports Your Live Sessions
Nourish's Clinical team designed the chart note to follow the flow of a session — from assessment through planning and wrap-up.maximize charting efficiency, improve clinical quality, and better organize information collected during session.
The chart note adheres to the Nutrition Care Process, producing comprehensive documentation for both clinical care and billing and compliance purposes.
All-In-One Chart Note Tab
All fields for documenting a patient session are in the “Chart Note” tab. The “Table of Contents” Icon (bottom left of note) provides an overview of each section of the note.
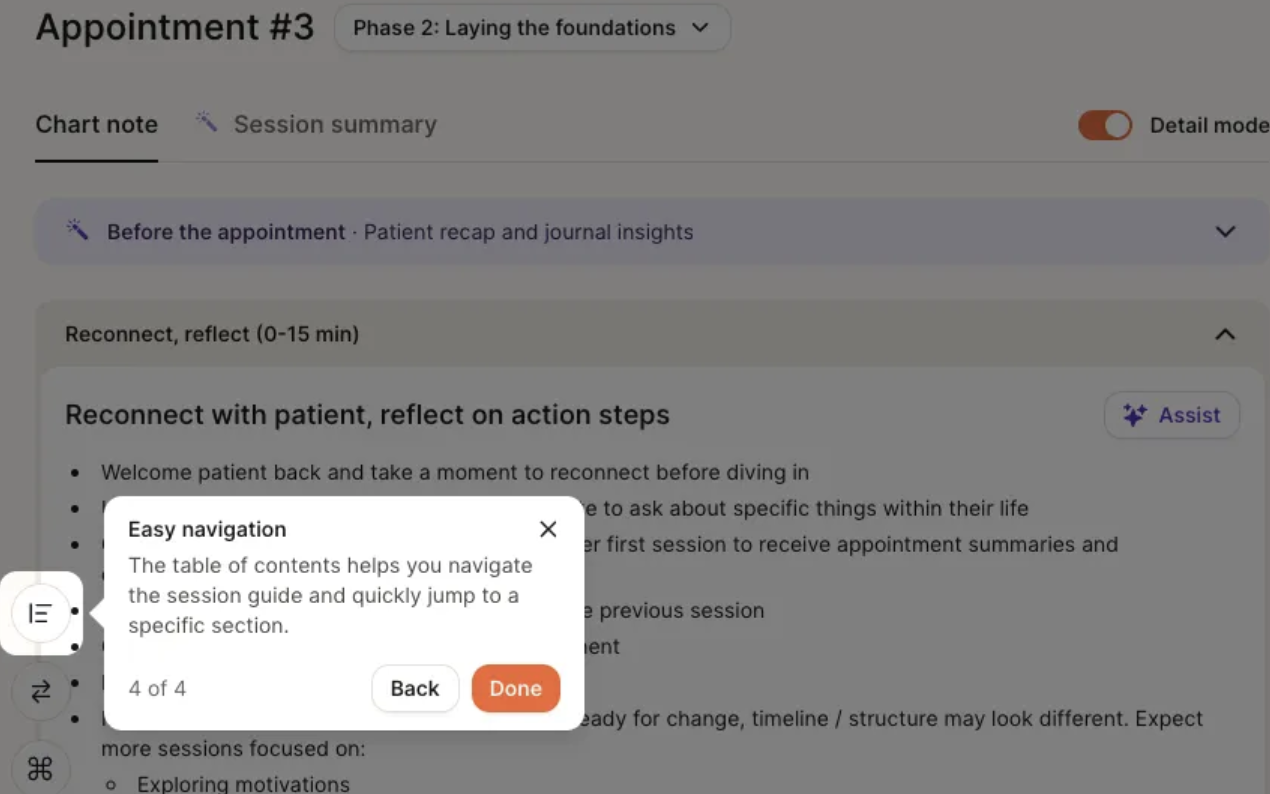
Chart Note AI Summary
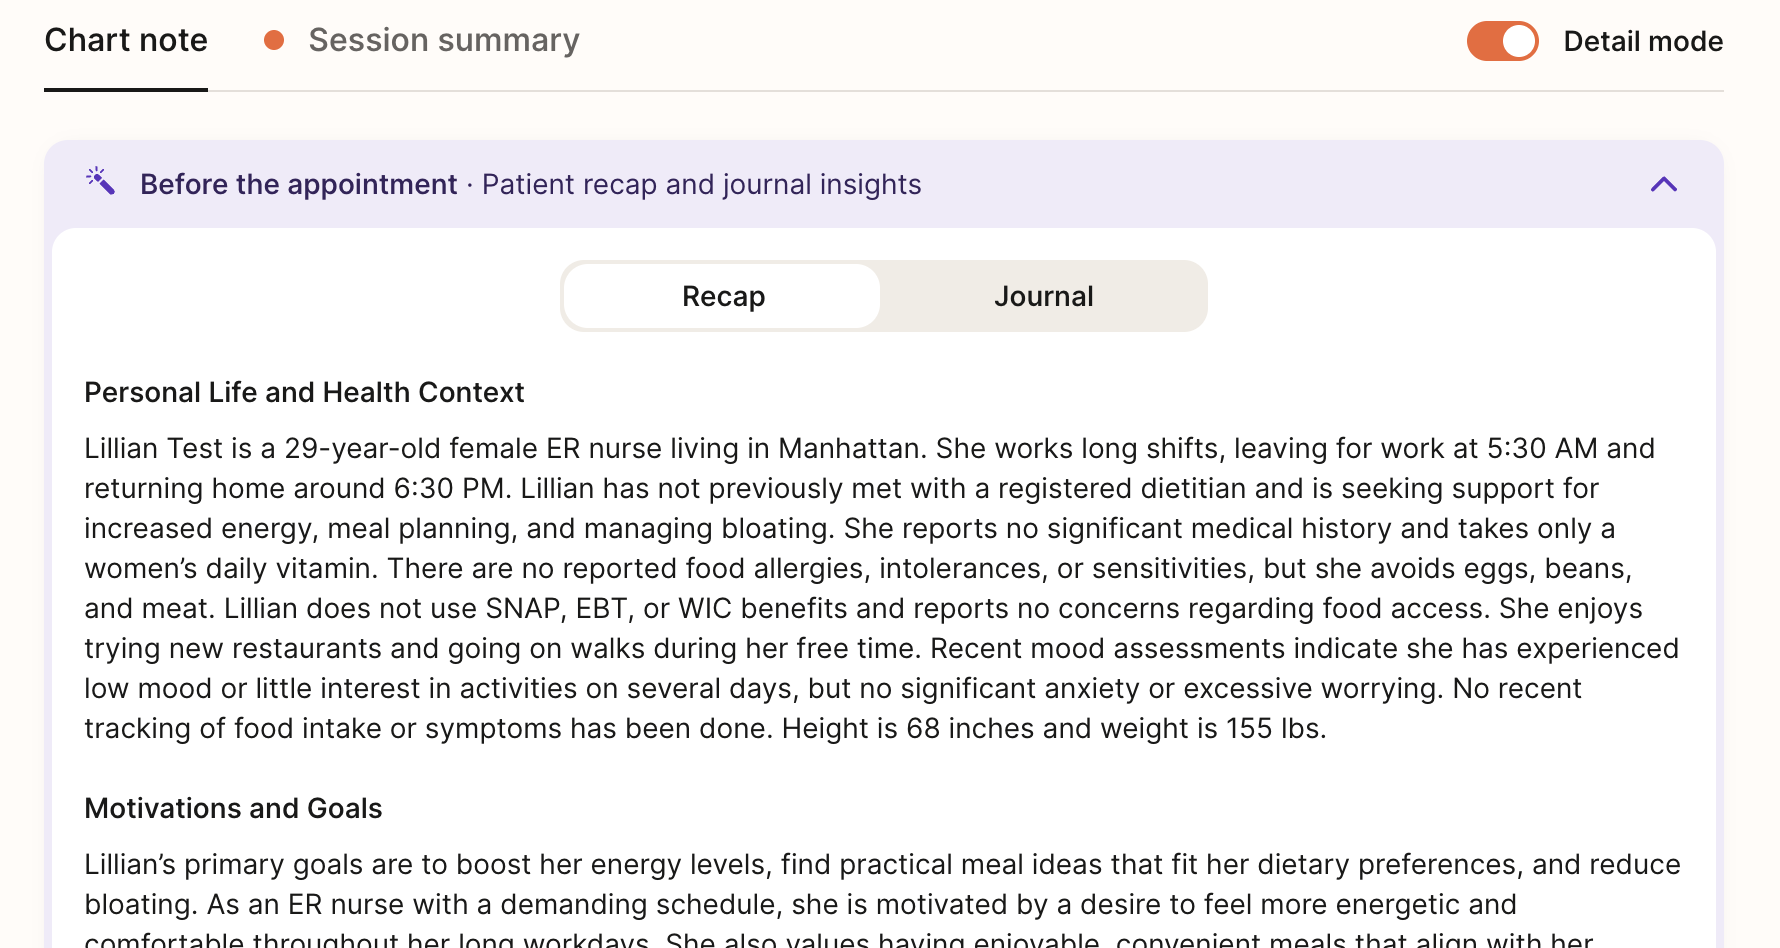
At the beginning of both initial and follow-up sessions, the AI Summary feature will compile key patient information within the chart note. When you open a chart note for the first time, the system will begin generating a summary of the patient using their onboarding details or data from previous sessions. This process takes approximately 15-60 seconds, after which you can click “Read More” to view the full summary.
The purpose of this feature is to:
Provide RDs with a concise and actionable overview of patient history, goals, and progress.
Save time in preparing for initial and follow-up sessions, allowing RDs to focus on delivering personalized care.
Strengthen the patient-provider relationship by enabling dietitians to pick up conversations and celebrate progress seamlessly.
Detail Mode
We offer a “detailed” version of the chart note with additional structure to help guide documentation and support your sessions. When enabled, Detail Mode surfaces additional in-line guidance to help you complete each section of the chart note.
For RDs in their first month at Nourish (based on start date), detail mode is turned on by default.
For all others, detail mode is off by default.
You can manually toggle detail mode on/off for any chart note. If toggled, your selection will be saved for that session.

AI Assist
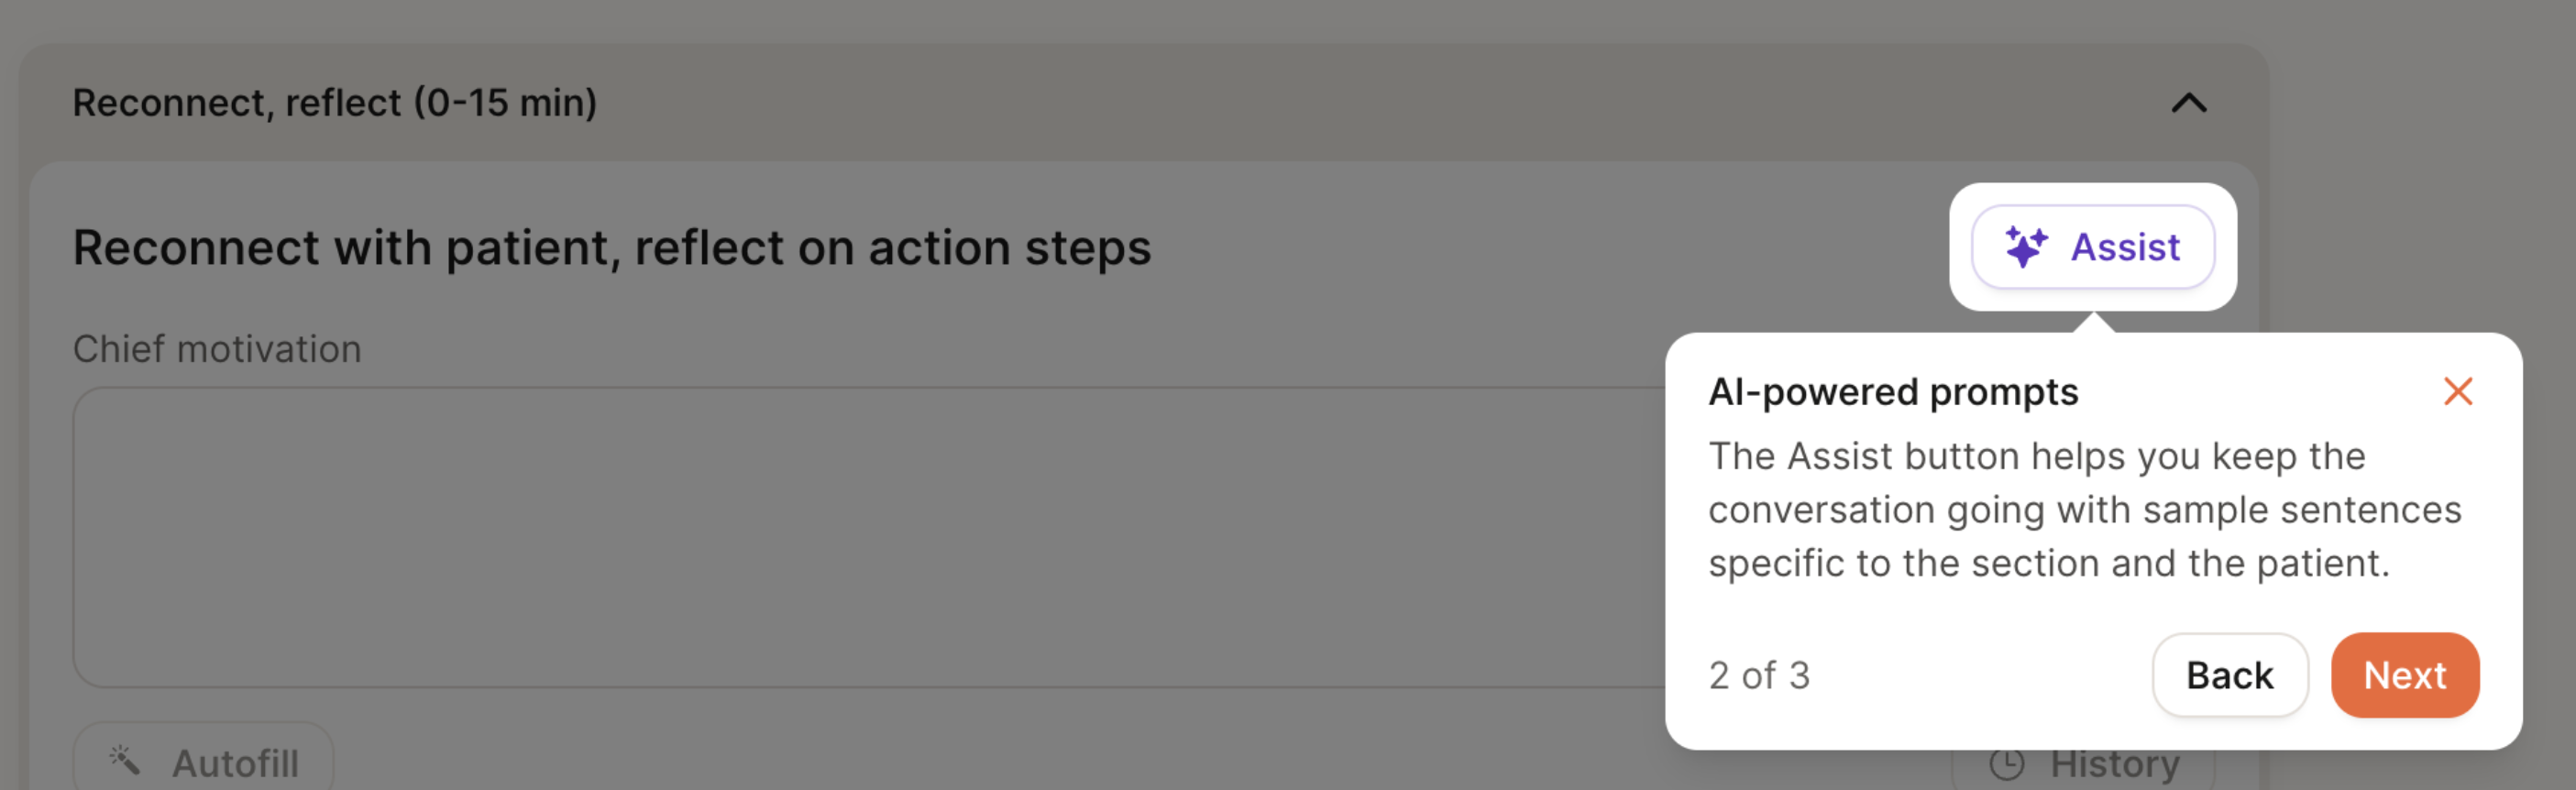
Each section of the chart note includes an “Assist” button, which surfaces example phrases tailored to the patient’s goals, conditions, and previous chart notes. The goal of this feature is to help spark ideas for framing recommendations, validating concerns, or guiding the session.
Session Flow
The chart note is organized to follow a suggested session flow, with approximate time blocks to help pace the conversation - for example, an initial flow is structured as:
First 15 minutes: Build connection & set expectations for course of care
15-40 minutes: Assess health history, review intake questions, conduct 24-hour diet recall, and complete PES statement
40-53 minutes: Co-create action plan and wrap up session
These time blocks are meant to inspire structure, not impose rigidity. We encourage you to use this framework as a guide, not a script. Every patient is different, and the most effective sessions adapt in real time to what the patient brings into the conversation.
If your patient heads in a different direction, follow their lead, meet them where they’re at, and don’t feel pressured to force a transition just to stay “on track.” The session content will still be available next time, and many topics can easily be rolled into the next session if needed.
We encourage you to think of this structure as a tool to support your clinical flow - one that helps maintain focus without compromising personalization, flexibility, or patient trust.
Nourish AI Scribe
The Nourish AI Scribe is a powerful tool designed to help Registered Dietitians focus on patient care instead of paperwork. This feature records Zoom sessions, transcribes the conversation, summarizes the key content, and pre-fills the chart note - including PES statements, relevant labs, medications, and progress updates. Many dietitians report completing their charting in under 5 minutes when using the scribe, helping reduce end-of-day documentation stress.
You can find the AI-generated session summary in the “Session Summary” tab. The latest version of the AI Scribe begins automatically when you start your session in Zoom and delivers a summary within 2-3 minutes after your session ends that you can use to auto-fill your chart note. This feature is enabled by default for all providers and patients.
Phase of Care Navigation
Our care model follows a four-phase care journey, designed to drive measurable outcomes through a blend of behavioral coaching, clinical nutrition care, and personalized goal-setting—all tailored to each patient. The Chart Note structure will be adjusted slightly based on the patient’s current phase of care.
Phase 1: Initial intake
Builds rapport and trust, setting the foundation for a strong, collaborative relationship
Collects medical history, goals, lifestyle habits, and personal goals
Develops a personalized care plan based on the patient’s condition and long-term goals
Patient gets access to the Nourish app for tracking progress: macro tracker, meal photo logging, and device sync (via Apple Health integrations and others)
Phase 2: Laying the foundations & education
Weekly sessions to reinforce foundational habits and early behavior change
Focus on education, habit change, and early wins
Ongoing RD engagement through app-based logging, progress tracking, messaging, and asynchronous RD support between live sessions
Phase 3: Building on success
Patient progress is evaluated across both clinical outcomes (e.g., A1C, weight, symptom improvement) and behavior change.
Care plans are adjusted using trends from food logs, lab / CGM data, and patient-reported outcomes.
Patients are supported in interpreting metrics and maintaining momentum
Phase 4: Planning long-term care
As goals are achieved and outcomes stabilize, care shifts toward long-term habit reinforcement and sustainability.
RDs provide education, planning, and structured options for relapse prevention or future re-engagement
Patients may move to lower-frequency check-ins or pause care with confidence, while remaining connected through the app.
While Phase 1 is always reserved for the initial session, you have the discretion to move patients from Phase 2 → Phase 3 → Phase 4 based on their progress.
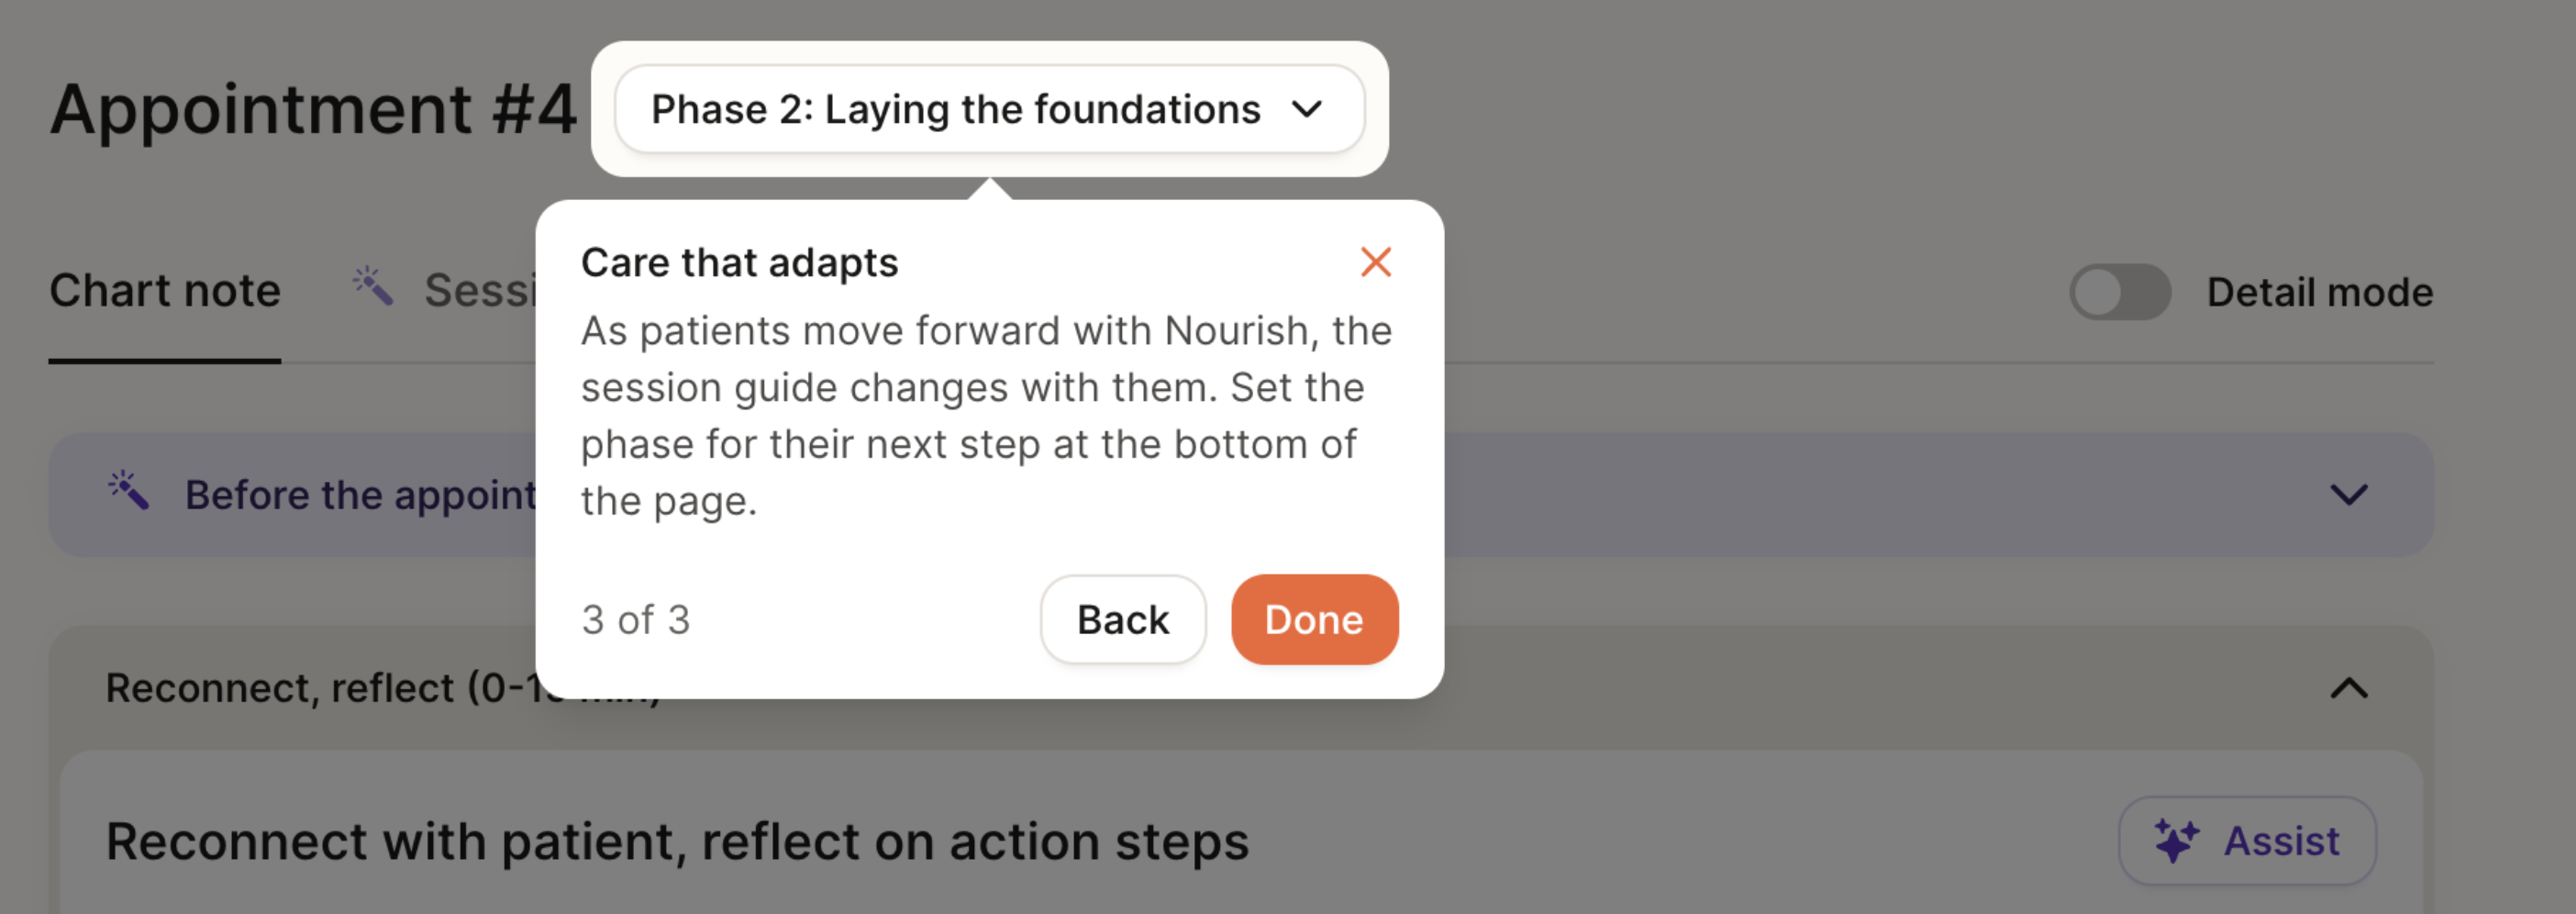
You can transition patients between phases of care by using the dropdown at the bottom of the chart note, under “Phase for next note,” to set yourself up for success in the next session. If you’ve opened a chart note and want to change the phase, a dropdown will also be available at the top of the page for easy access.

Below are guidelines to help you evaluate a patient’s readiness to advance. In general, we recommend progressing a patient to the next phase once they’ve met at least one time/session goal and one progress goal.
Phase 2 → Phase 3:
Time: At least 30 days since the start of Phase 2
Session: At least three completed sessions in Phase 2
Outcomes Data: Completed 1+ patient questionnaire or logged metric (e.g., weight, A1C, symptom check-in)
Goal progress: Patient has made foundational progress towards both short- and long-term goals
Phase 3 → Phase 4:
Time: At least 30 days since the start of Phase 3
Session: At least three completed sessions in Phase 3
Outcomes Data: Completed two or more patient questionnaires or logged metrics (e.g., weight, A1C, symptom check-in)
Goal progress: Patient has made meaningful progress towards both short- and long-term goals
Phase 4 → Maintenance (Stay in Phase 4) or Pause:
Transition to Maintenance Cadence (e.g., monthly, every 2 months) when...
Patient has met most goals but still benefits from accountability
Progress is stable but still improving
Patient prefers continued support at a lower frequency
Clinical judgement aligns with ongoing support
Soft Close (care paused, return as needed) when...
Patient has achieved core goals and feels confident continuing independently.
No active metrics or behaviors requiring follow-up
No clinical concerns
Patient is interested in stepping away, but knows support is always available and returning is welcomed! Signing and Locking Chart Notes
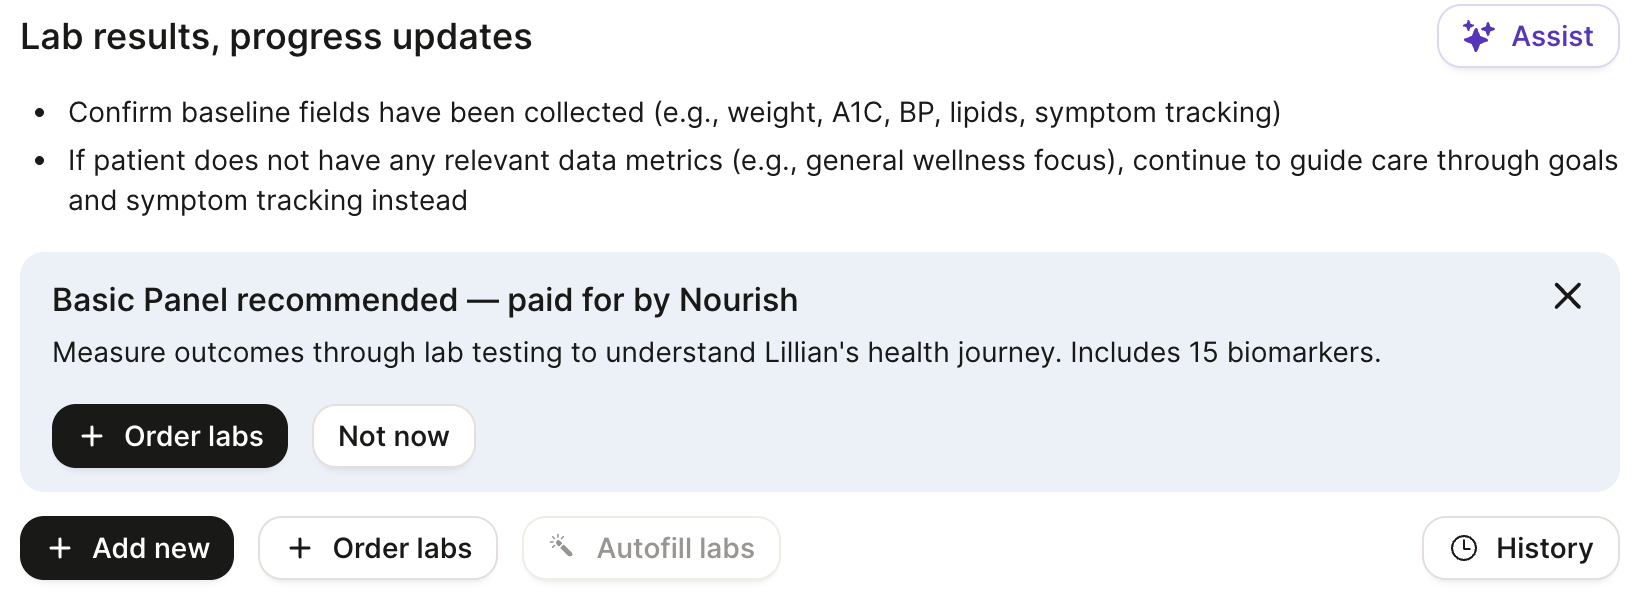
Ordering Labs from the Chart Note
We’re thrilled to offer Nourish Labs — a major step forward in delivering truly personalized, data-driven nutrition care. These insights empower more meaningful conversations, stronger motivation, and more precise interventions.
All Nourish RDs can order a Basic Metabolic Panel (BMP) for patients 18+ (excluding Rhode Island) every three months to better inform clinical decision-making and elevate care plans. And you can order from within the Chart Note!
And the best part? Nourish covers 100% of the cost — labs are completely free for patients.
For more information, check out our Nourish Labs Quick Start Guide!
Scheduling Appointments from the Chart Note
To schedule an appointment directly from your chart note, simply click the Schedule Appointment button in the Wrap-up section of the chart note. This will link to a view of your calendar, and the default date will pre-populate as one week from the date of the chart note appointment; however, you're welcome to change it to any other date you prefer.
Signing and Locking Chart Notes
Chart notes must be signed and locked within 48 hours.
Once you have completed your chart note, simply click Sign and Lock. Remember, appointment summary content will automatically be sent to the patient once the chart note is signed and locked, so be sure to review the appointment summary beforehand.
Patient Sidebar
The patient sidebar contains supplemental information you may wish to access easily while in session or while charting. Open the patient sidebar by selecting the icon on the right side of your chart note. Press the same button (relocated to the bottom of the sidebar) to collapse the sidebar.
At the top of the patient sidebar, you can see the date of the next scheduled session and easily access the message history. Further details can be found within the following sections:
Profile: View personal information, contact information, tags, conditions, and sign-up and referral details.
Notepad: A place to record any information not captured within the chart note(s). Use this to keep track of key details about the patient's life, upcoming events, or reminders about what to discuss in future sessions. Notepad content is not shared with the patient nor external providers.
Appointments: View appointment history, upcoming scheduled sessions, and access historical chart notes.
Insurance: View insurance information and past claim statuses.
To-do list: View all active, completed, and deleted to-dos; a more extensive history than what is shown within the chart note.
Outcomes: View all historical outcomes (excluding data from current chart notes), including lifestyle data, lab results, and progress questionnaires.
